Do's and Don'ts for Frozen Shoulder
There are many dos and don’ts for frozen shoulders, this is why it is important to manage the condition correctly.
A frozen shoulder can last up to 2 years so to improve your chance of recovery do the dos and avoid the don’ts.
Therefore, it’s essential you seek advice from a healthcare professional when you first become aware of symptoms.
This is why they can advise you on the best path to achieving a full recovery.
Do’s and Don’ts for Frozen Shoulder – What is frozen shoulder?
Frozen Shoulder is a condition which the connective tissues surrounding your shoulder joint become inflamed and stiff. The symptoms can often vary depending on your lifestyle, hobbies, age etc and often develops in stages.
Although the cause of frozen shoulder is often unknown, it appears to be more common in people with diabetes, thyroid disease and in woman over 40 years old.

Others may be due to a previous shoulder injury, or arthritis which reduces the amount you move your shoulder which leads to the tissues surrounding the shoulder joint to tighten up. Leading to a stiff shoulder.
Having a frozen shoulder can be painful and normally only affects one of your shoulders.
The pain can often be felt in the shoulder and radiate down your arm when it is in its most painful stage. Even simple tasks like brushing your hair or getting dressed can be difficult.
This article about How to sleep with a frozen shoulder is essential for anyone with shoulder pain.
This short video can be helpful to understand from the shoulder doc
The Stages of a Frozen Shoulder
The common stages of frozen shoulder are often referred to as:
The freezing stage (painful stage): This is where pain gradually gets worse over time and prevents you from moving your shoulder. It often leads to a gradual decrease in your active range of motion.
- Frozen Stage: This is where your pain may ease but the stiffness remains
- Thawing Phase: This is where your pain continues to lessen and your movement gradually improves
Do’s and Don’ts for Frozen Shoulder – THE Dos
- Consult your doctor, physio or local healthcare professional. There are many conditions who have similar symptoms in the shoulder joint to a full assessment is essential to getting the correct recovery plan.

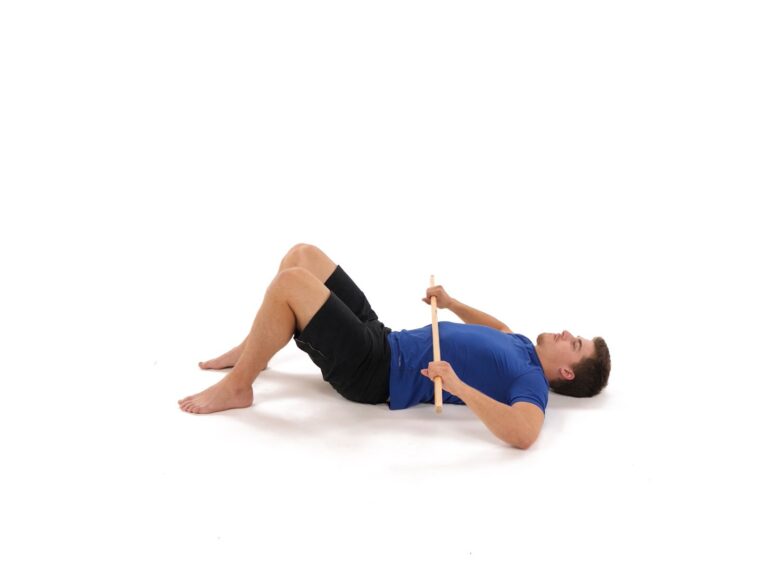
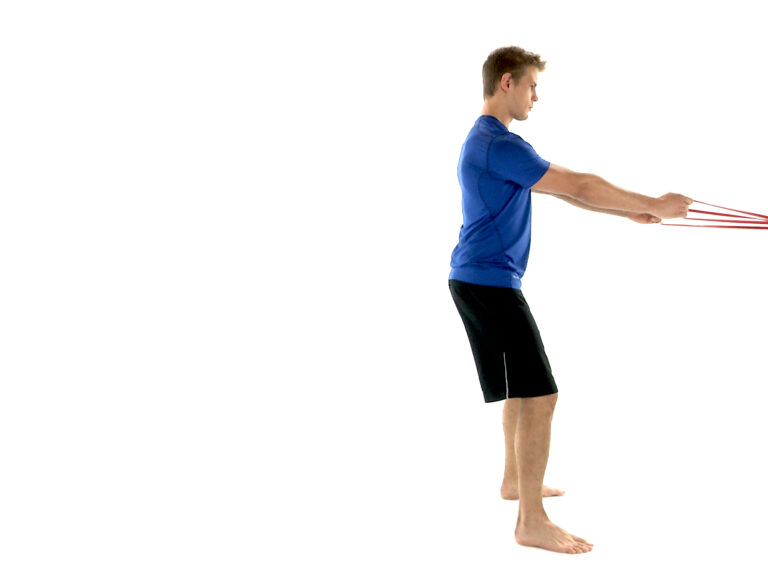
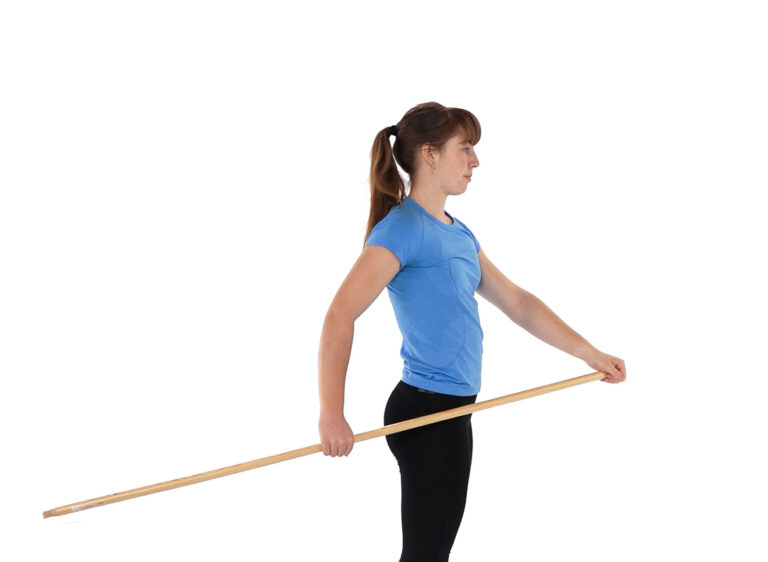
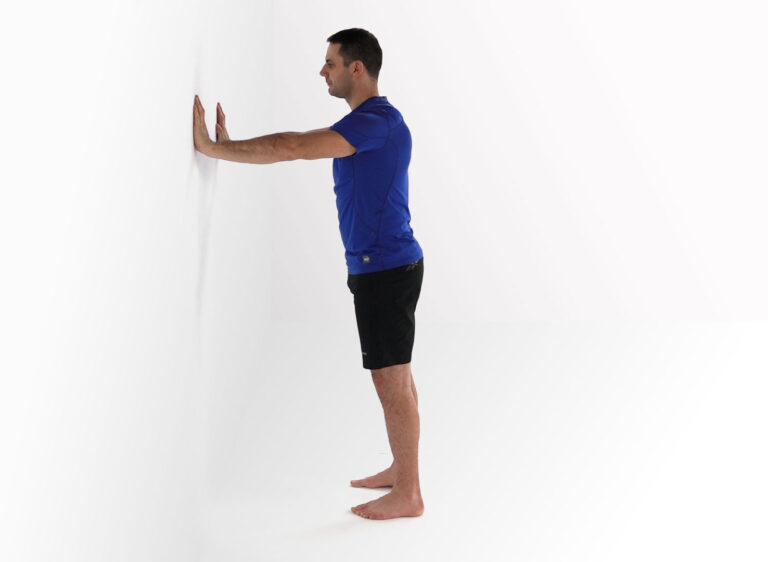
Keep your arm moving. Most physios and healthcare professionals will encourage you to move your shoulder doing range of motion exercises. These are often progressive in nature and encouraging you to often push yourself to your limits while managing your pain.
Take advice on pain relief medication if required or use ice packs to help manage the pain.
Support your shoulder to ensure your sleep. Sleep is really important as part of your recovery. Often using a pillow to help find a comfy position can be helpful.
Maintain a good and healthy diet. It is essential you provide your body with all the nutrients it requires to repair itself appropriately
Do’s and Don’ts for Frozen Shoulder – The Don’ts
Don’t skip doing your range of motions and rehabilitation exercises. Failing to do your exercises can lead to a stiffer shoulder and reduce the speed of recovery. In worse case, it may lead to further treatment pathways to solve your issue.
Avoid activities which increase or recreate your pain. These can often be quick or jerky movements. Therefore, be sensible and modify your lifestyle accordingly.
Avoid stopping all exercise. Maintaining good physical health will help you overcome the issue plus maintain good mental health while recovering from a frustrating condition.
Avoid excess alcohol and smoking consumption.
Treatment for Frozen Shoulder
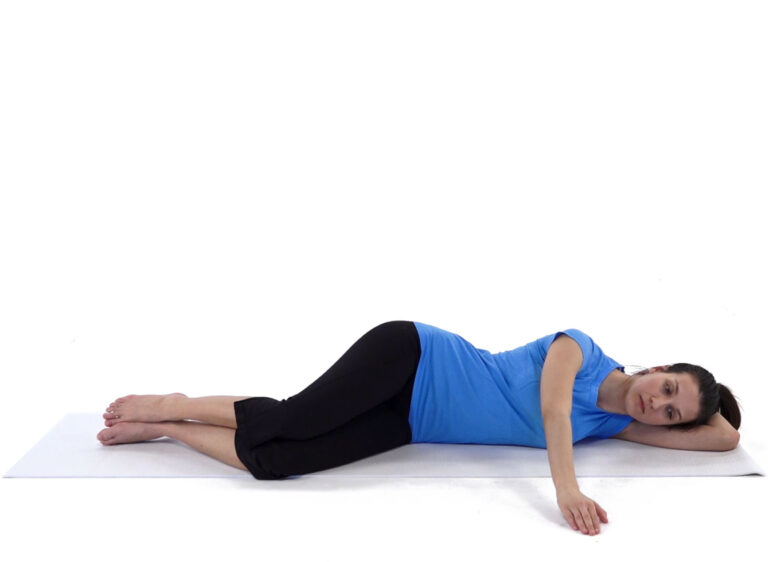
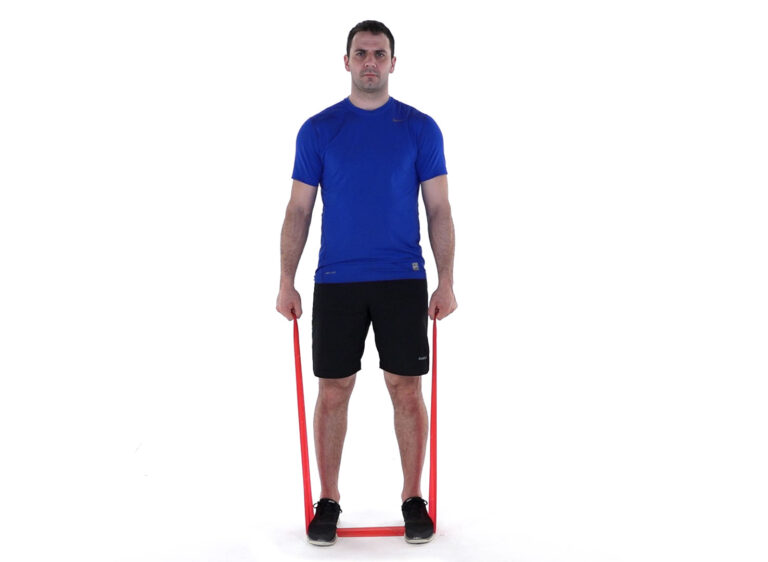
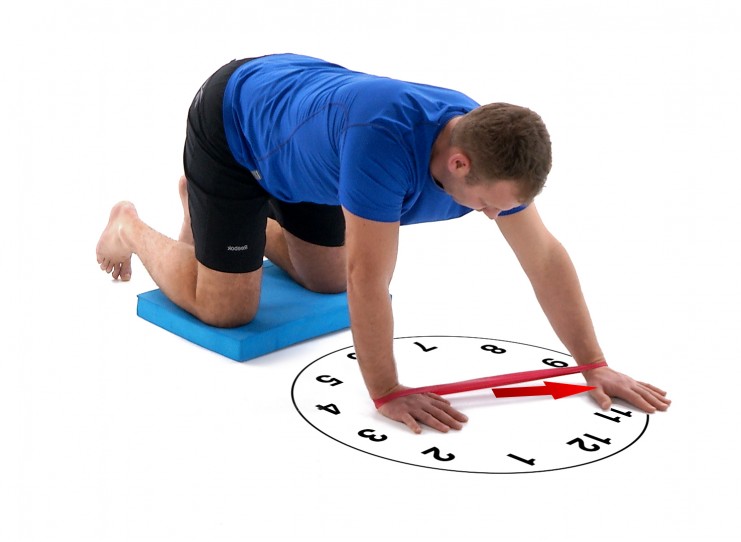
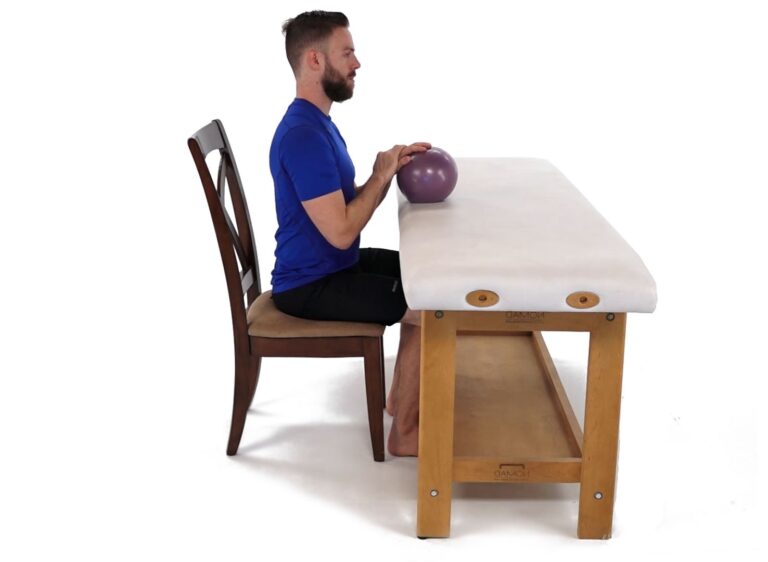
Exercises That Can Help with Frozen Shoulder
As discussed unfortunately, recovery from Frozen Shoulder can take a while. In some cases, we can be looking at 2-4 years before a full recovery has been made!
Luckily, there are some things that we can do to help, and exercise appears to be one of the tools in our tool box. It’s also important to keep the shoulder functioning well throughout the recovery process, and avoid being left with a weaker arm when symptoms improve.
As with any injury, each individual person will respond differently to exercises. Naturally, you’ll find some useful, whereas others might just cause irritation. Finding a routine that improves your symptoms without causing any lasting aggravation is key to making improvements.
We’ve separated the examples below into groups; the goal is to progress from one group of exercises to the next, as your symptoms allow.
If you’d like to see some videos of these exercises in action, head to our Instagram page, where we’ll be posting a short video series.
Here we go!

